Car Window Film can make a commute more comfortable, reduce glare, and help limit heat entering the cabin. Yet choosing a film is not as simple as picking the darkest shade. A nearly clear product may reject substantial heat, while a darker one may offer less protection than expected. Details matter.
Before buying, compare the film’s heat-rejection and ultraviolet ratings, visible light transmission, warranty, and compatibility with your vehicle’s windows. Ask what the figures measure, and request product documentation rather than relying on a sales claim. Look closely at the sample in daylight. A small display card can look different beside a real windshield.
Installation quality matters just as much as the product. Dust, uneven edges, or small bubbles may become obvious when sunlight hits the glass. Ask about the installer’s preparation process, experience with your vehicle type, and aftercare instructions. Also check local requirements before choosing a shade; rules can vary by location and window. Do not assume a product is permitted just because it is widely sold.
These ten practical tips will help you compare options, avoid common buying mistakes, and ask clearer questions before paying. They are a starting point, not a guarantee of perfect results. Even careful buyers may find that color, visibility, and cabin comfort feel different after installation. That is worth considering. A thoughtful choice should suit your driving conditions, budget, and comfort—not just the look of the car.
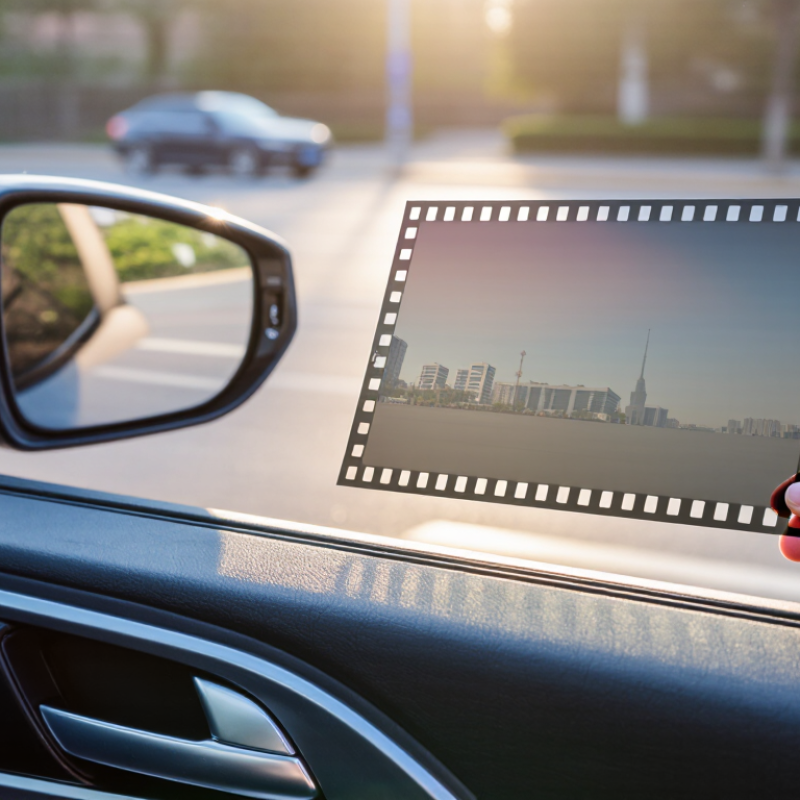
Car window film is a thin layer applied to vehicle glass. Its main jobs are to reduce solar heat, soften glare, and limit ultraviolet exposure. On a sunny drive, that can mean a cooler steering wheel and less squinting at the road. Some films also add privacy or help hold small glass fragments together if a window breaks. These benefits differ by film type. A darker appearance does not automatically mean better heat or UV rejection.
The glass itself matters, too. A 2016 study in JAMA Ophthalmology tested 29 vehicles and found that windshields blocked an average of 96% of UVA rays, while front side windows blocked 71%. That gap is worth noticing. The study measured vehicle glass, not every film product, so its figures should not be treated as guaranteed film performance. Look for documented UV and heat-rejection specifications, and consider who will use the car: a child in the back seat, for example, may benefit from reduced glare and heat. Film is not magic; it cannot eliminate cabin heat or replace sensible sun protection. Installation quality can also affect clarity, especially around the edges.
Car window films differ in both construction and everyday performance. Dyed film uses color layers to reduce glare and add privacy, often at a lower cost. It can absorb heat, but its heat rejection may be modest, and lower-quality dyes can fade. A darker shade does not automatically mean a cooler cabin. That detail gets missed.
Metalized film contains fine reflective particles. It can reject heat effectively and give glass a slightly mirrored appearance. However, some metalized films may interfere with radio, navigation, or phone signals. Carbon film avoids much of that metallic reflection and typically holds its color well. Its matte finish can look subtle, though performance varies by product.
Ceramic film uses nonmetallic particles designed to reduce infrared heat and block ultraviolet rays while keeping visible light relatively clear. It often costs more, and the word “ceramic” alone proves little. Compare published figures for visible light transmission, ultraviolet rejection, and total solar energy rejected. Check whether measurements come from a consistent testing method. No film wins every test. A useful comparison starts with your priorities: cooler seats, reduced glare, clear nighttime views, or fewer signal concerns. Look closely at the sample beside your actual window; indoor displays can be misleading. Installation quality matters, too. Tiny dust specks and uneven edges are easy to notice in morning sunlight.
Before choosing a film, check the tint rules for the place where the car is registered and driven. Limits can differ between front side windows, rear side windows, and the windshield. Some areas allow only a narrow strip near the top of the windshield; others set specific light-transmission limits. These rules may change, so an old online chart is not enough.
Look for guidance from an official transport or vehicle-safety authority. Pay attention to visible light transmission, often called VLT: a lower percentage usually means less light passes through the glass. Check whether the rule applies to the film alone or to the combined glass and film. Factory-tinted rear windows can affect the final result. Small details matter.
Coverage rules can include reflectivity, color, and how much of the windshield may be covered. Before installation, ask the installer to measure the glass and provide the film’s VLT information. Keep the paperwork in the car, if local guidance recommends it. I would not rely on a quick visual check; a film that looks light in a showroom can appear much darker at night. It is easy to assume that one legal setup works everywhere. It may not. Recheck the rules before moving or driving across regional borders.
When comparing car window film, inspect a sample in daylight and from inside the car. Tip 1: Look for even color and a clear view without haze. Tip 2: Check the film’s published visible-light and heat-rejection figures. Tip 3: Ask whether performance claims come from independent testing. Tip 4: Examine the sample’s edges for peeling or uneven coating. Small flaws matter.
A warranty is useful only when its terms are clear. Tip 5: Confirm what defects are covered, such as bubbling, fading, or adhesive failure. Tip 6: Ask how long coverage lasts and whether it transfers to another owner. Tip 7: Check exclusions and required proof of purchase. Keep the receipt. Tip 8: Get warranty details in writing, including who handles a claim. Fine print can be easy to overlook.
Installation quality affects how the film looks and lasts. Tip 9: Ask about the installer’s experience and whether work happens in a clean, covered space. Dust trapped beneath film can leave visible specks. Tip 10: Clarify the price, appointment time, aftercare instructions, and recommended curing period before booking. After installation, inspect corners and edges in bright light. I would still ask questions, even when the sample and paperwork look convincing; a neat showroom display cannot guarantee careful work on your car.
Evaluating product quality, warranty, and installation options
These broad ranges are examples found in published product specifications, not guaranteed performance levels or legal standards. Compare test methods—especially for infrared rejection—and check visible-light-transmission laws where you drive. Before buying, also review the written warranty, film compatibility, installer experience, and care instructions.
Window film lasts longer when cleaning is gentle. Use a soft microfiber cloth and a mild, ammonia-free cleaner; harsh chemicals can weaken some films or damage their finish. Wipe with light pressure, especially near the edges. Small details matter. Avoid abrasive pads, blades, and gritty paper towels, which can leave fine scratches. If the film was recently installed, follow the installer’s curing instructions and keep the windows closed for the recommended period.
Some haze or tiny moisture pockets can appear during curing. Their appearance may change as the film dries, so avoid pressing or picking at them. Be patient. Persistent bubbles, peeling edges, creases, or cloudy patches deserve attention, particularly if they remain after the stated curing period. A dark or distorted area can also affect visibility. It is easy to assume every bubble means a failed installation, but timing and film type matter; an experienced installer can assess the cause.
Check the film in daylight from both inside and outside the car. Look closely at the corners, where dust and lifting may first show. If a scratch appears, do not try to polish it away. Many films cannot be repaired invisibly, and replacement of the affected section may be the practical option. Keep a note of when the problem appeared and how it changes. That small record can make a professional inspection more useful.
| No. | Care Tip | What Can Be Normal | Common Problem to Watch For | Recommended Action |
|---|---|---|---|---|
| 1 | Allow the film to cure after installation | Slight haze or small water pockets may appear while installation moisture evaporates. | Large bubbles, creases, or cloudy areas that remain or worsen after the stated curing period. | Follow the installer’s care instructions and avoid pressing or puncturing bubbles. Contact the installer if defects persist. |
| 2 | Wait before lowering newly filmed windows | The film may look set while its adhesive is still curing. | An edge shifts, rolls, or peels after the window is operated too soon. | Keep windows closed for the period specified by the installer; the required time varies with film, weather, and installation conditions. |
| 3 | Clean with a soft cloth and gentle cleaner | Routine dust and fingerprints can usually be removed with a clean microfiber cloth. | Fine scratches, dull patches, or adhesive damage after harsh cleaning. | Use a soft, non-abrasive cloth and a film-safe or ammonia-free cleaner. Test unfamiliar products on a small area first. |
| 4 | Avoid abrasive tools and sharp edges | Light surface marks may wipe away during gentle cleaning. | Scratches or cuts caused by blades, scouring pads, or rough paper towels. | Do not use razor blades or abrasive scrubbers on filmed glass. Lift grit with plenty of cleaner before wiping. |
| 5 | Take care around rear-window defroster lines | Defroster lines remain visible beneath properly installed film. | A damaged line may stop heating; aggressive scraping can also lift or cut the film. | Clean gently in the direction of the lines and avoid scraping. Have electrical or film damage assessed by a qualified professional. |
| 6 | Inspect film edges periodically | A neat, firmly bonded edge should remain stable during ordinary use. | Lifting, peeling, trapped dirt, or a growing gap along an edge. | Do not pull or glue the film back down. Arrange an inspection before the lifted area collects more dirt or moisture. |
| 7 | Keep hard objects away from filmed glass | The film can help hold small glass fragments together if glass breaks, but it does not make glass unbreakable. | A puncture, tear, or deep scratch from cargo, tools, or sharp objects. | Secure items in the vehicle and avoid pressing pointed objects against the glass. Replace damaged film if needed. |
| 8 | Know what fading or color change may indicate | Some minor appearance variation can result from lighting, viewing angle, or the glass itself. | Noticeable discoloration, uneven fading, or a sudden change in clarity. | Document the change and ask the installer to assess the film and its warranty. Film performance and service life vary by material and exposure. |
| 9 | Check for persistent visual distortion | Temporary haze or mild distortion may occur during curing, especially in changing light. | Distortion, waves, or blurry areas that remain after the film has fully cured. | Compare the affected area in different lighting and contact the installer if the issue persists or interferes with visibility. |
| 10 | Confirm local tint rules before buying | Legal limits can differ by location, window position, and vehicle type. | Film that is too dark or reflective for local requirements may lead to a compliance issue. | Check current local regulations before installation and keep any required compliance documents with your vehicle records. |
Note: Film care instructions and curing times vary by product and installation conditions. Follow the installer’s guidance, and seek professional assessment for persistent bubbles, peeling, damage, or visibility concerns.
