2026 How to Choose the Right Mouthpiece Adapter?
In 2026, choosing the right Mouthpiece Adapter starts with one practical question: what equipment must it connect? The term can describe adapters for different instruments or devices, so appearance alone is not enough. A part that looks close may still fit poorly, leak air, or change how the connected equipment performs. Small details matter.
Check the manufacturer’s compatibility guidance before comparing materials or price. Note the mouthpiece’s inner and outer diameters, the connection type, and any stated model requirements. A ruler can help, but precise specifications are more reliable than a visual estimate. Fit matters. The adapter should seat evenly, stay secure during normal use, and come away without excessive force. If it wobbles, binds, or leaves a visible gap, stop and recheck the measurements.
Material and finish deserve equal care. Smooth, cleanable surfaces may be useful where regular hygiene is important, while durable construction can better handle frequent assembly. Avoid assuming that heavier or more expensive means better. It may not. Follow care instructions, and replace parts that show cracks, sharp edges, or persistent looseness. These checks are simple, but easy to skip when a product description promises universal fit.
This guide explains how to compare dimensions, connection styles, materials, and everyday usability. It also points out when a manufacturer or qualified technician should confirm compatibility. One honest caveat: product labels are not always consistent, so verify the exact model before ordering. A careful match can support reliable performance; a guess can create avoidable frustration.
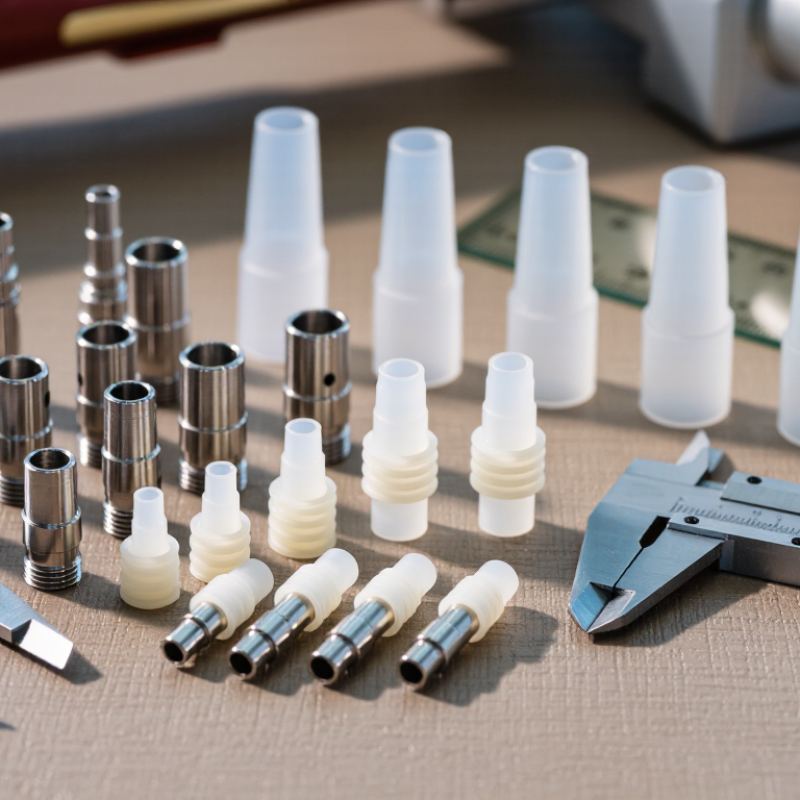
What a Mouthpiece Adapter Is and How It Works
2026 How to Choose the Right Mouthpiece Adapter?
What a Mouthpiece Adapter Is and How It Works
A mouthpiece adapter is a small connector that lets a mouthpiece fit an instrument with a different receiver size or shape. In brass and other wind instruments, it bridges the gap between two parts that might not otherwise seat securely. The adapter’s inner and outer surfaces are shaped to match each connection. It should hold the mouthpiece steadily without forcing it into place. A close fit matters.
When you play, air travels through the mouthpiece and adapter into the instrument. A poor seal can let air escape, while a loose connection may shift during use. Either problem can affect response and comfort. Check the instrument’s receiver dimensions and the mouthpiece’s shank before selecting an adapter. A ruler can help, but accurate measurements or advice from a qualified repair technician are more dependable.
Adapters may differ in length, taper, and material, so appearance alone is not enough. Make sure the mouthpiece enters smoothly and sits straight. Don’t twist it hard. After playing, remove the adapter gently and inspect it for residue, dents, or unusual wear. Fit can feel subjective, and I would not assume that a tighter connection is automatically better. A stable, even fit is the practical goal.
Common Types of Mouthpiece Adapters and Their Uses
2026 How to Choose the Right Mouthpiece Adapter?
Common Types of Mouthpiece Adapters and Their Uses
Mouthpiece adapters solve specific fit problems; they are not universal connectors. A shank reducer or expander bridges a small size mismatch between a mouthpiece and an instrument receiver. Check the taper and insertion depth, not just the opening diameter. A loose fit can leak air, while a forced fit may damage the receiver. Fit matters.
Extension adapters move the mouthpiece farther from the instrument. Players may use them when a setup feels cramped or to adjust playing position. The added length can affect response and intonation, so test it with the instrument you actually play. Threaded adapters suit compatible threaded connections, but thread size and pitch must match exactly. Similar-looking parts can still be incompatible.
Some adapters connect mouthpieces to measurement or practice equipment. These are useful for controlled testing, not necessarily everyday performance. The World Health Organization’s 2021 World Report on Hearing projects that nearly 2.5 billion people may have some degree of hearing loss by 2050. An adapter does not make loud practice safe; use hearing protection and manage playing levels. One detail is easy to overlook: even a correctly sized adapter can change how a setup feels. Keep the original parts, compare one change at a time, and ask a qualified repair technician when fit remains uncertain.
How to Check Device and Mouthpiece Compatibility
2026 How to Choose the Right Mouthpiece Adapter?
How to Check Device and Mouthpiece Compatibility
Start by identifying how the device and mouthpiece connect. Compare the adapter’s listed diameter, connection style, and insertion depth with both parts. A small size difference can cause looseness, strain, or a poor seal. That matters. Check the device instructions or product specifications rather than relying on appearance alone. Two openings may look alike but use different fittings.
Next, consider airflow and materials. The adapter should not cover vents or noticeably restrict the opening. Look for material information and cleaning guidance, especially if the mouthpiece touches the skin or is used repeatedly. Compatibility is not just about whether parts click together. It also involves safe, practical use. If specifications are unclear, ask the device maker or a qualified supplier before testing a substitute.
When checking the fit, disconnect the device and inspect the parts for cracks, debris, or worn edges. Attach the adapter gently; do not force it. It should sit evenly, without wobbling or leaving an obvious gap. A fit that seems “close enough” can be easy to misjudge. Recheck the instructions if the connection feels tight, airflow changes, or the adapter shifts during normal handling.
Key Factors for Choosing the Right Adapter
Choosing a mouthpiece adapter starts with the connection, not the appearance. For clinical breathing equipment, ISO 5356-1:2015 specifies 15 mm and 22 mm conical connectors. Check the device manual and measure the mating port; two parts can look similar yet fail to seal. A gentle pull test may reveal looseness, but it cannot confirm a safe connection. Small detail. Avoid forcing parts together.
Next, consider airflow, internal volume, and material. A narrow passage or abrupt step can increase resistance, while added internal space may affect ventilation performance. The actual effect depends on the equipment, so seek compatibility data for the complete setup rather than judging the adapter alone. ISO 18562-1:2024 provides a risk-management framework for evaluating breathing-gas pathways. Ask whether the material and cleaning method have been assessed for the intended use. A smooth surface helps, but it does not prove that an adapter is easy to disinfect.
Finally, assess durability and replacement needs. Look for clear sizing, inspection guidance, and a secure fit after repeated cleaning. Cracks, discoloration, or a loose connection are practical warning signs. Product specifications are useful evidence; vague claims are not. I would still verify the fit under the conditions described by the device maker, because a hand-tight fit can be misleading.

